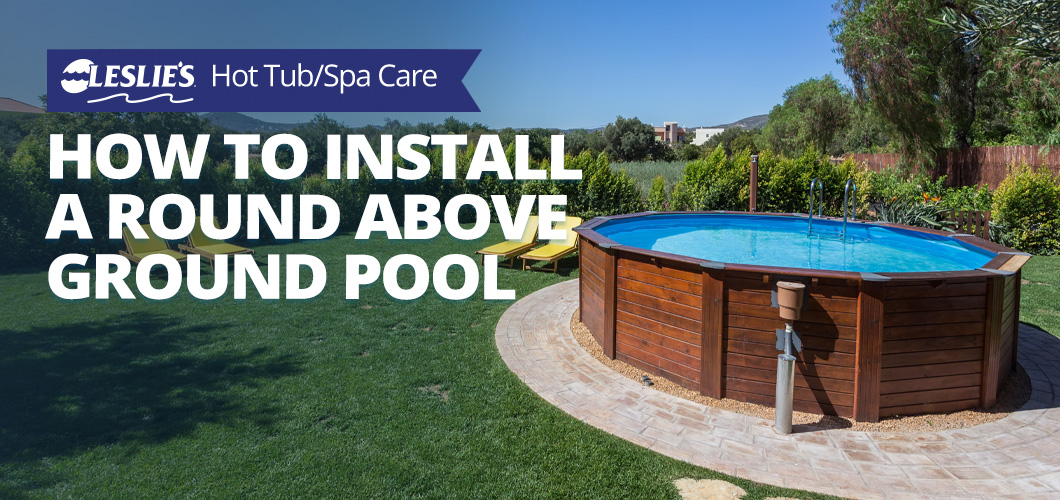
How To Install a Round Above Ground Pool
An above ground pool is a great option for any homeowner. Whether you are looking for a large pool for the entire family to enjoy, or peaceful floating relaxation, we've got you covered! But before you purchase a pool online, we recommend understanding the installation basics.
Installing an above ground pool can be done quickly if you’re prepared beforehand. Below we have provided the steps to walk you through the process of installing a round above ground pool.
What Tools Do I Need to Build My Pool?
- Tape Measure
- Landscape Stakes and C-Clamps (optional)
- Duct Tape
- Shovel
- Sand
- Skimmer/Return Fitting
- Carpenter’s Level and/or Transit (optional)
- Patio Blocks 2″x8″x16″ (1 per each bottom plate)
- Box Cutter
- 5/16 Wrench
- 1/4 Wrench
Where Should I Install My New Pool?
To begin, organize your tools and above ground pool parts. For the pool location, find a large and flat area in your yard that is big enough to accommodate your above ground pool. If you are installing an oval above ground pool, keep in mind that it may have buttresses on each side (which may add 2’-3’ feet). Before digging, check for utility lines and underground obstructions. Last but not least, make sure your installation is in compliance with all state and local codes before building. Do not assemble your pool on asphalt, tar or oil base surfaces.
You can rent a transit from your local equipment store for a precise level measurement or use a board with a level.
Things to avoid:
- All electrical wires
- All gas lines
- Septic tanks
- Cesspools
- Dry wells
- Tree roots and stumps
- Buried debris (trees, building material, etc.)
- Sudden slopes within 6' of pool area
Measure the Installation Location
Now, we will mark the area where the pool will be built. To find the center point, measure off of an existing object (like a wall or fence) and mark where you want that wall in relation to the pool. Now, measure 1/2 the width of the pool and stake the tape measure at that point.
It is a best practice to pull the tape measure to the radius measurement PLUS 1 extra foot. This will give you a little extra room for error. Now, place the marker on the center and walk all the way around in a circle, tracing the perimeter with spray chalk.
Clear the Installation Area
You want to make sure that the area is clear of sod, roots, rocks and other debris. If you are removing large areas of grass, we recommend renting a sod cutter from your local hardware store.
Level the Ground
The ground may have been affected by clearing out the sod and roots, so it’s necessary to even out the installation area. Use a leveler to find the highest points in the installation area and dig to level it out with the lower points. Always dig down from the high areas versus building up the low areas. This will help prevent problems in the future.
Bottom Wall Rim Assembly
Now it’s time to connect each rail to its bottom plate. First, use your pool parts breakdown document to separate all of the components. Take the curved bottom rails and place them in a circle along the circumference of the pool area.
Please note: Make sure that you are using the bottom rails, not the inner stabilizer bars. Bottom rails on some pool models are made of resin and not metal. Stabilizer bars are always metal. They also have a male and female end. Bottom rails are the larger width rails with straight cuts on both ends. Bottom rails do not interlock.
Now you can assemble the rails by using the bottom plates or cuffs to join them together. Please refer to your pool parts breakdown sheet to confirm if your pool uses resin bottom plates, resin bottom cuffs or traditional metal bottom plates. Rails should be inserted into the bottom plates or cuffs up to the stops on the plate or cuff.
IMPORTANT: Check the roundness of your circle by measuring the diameter across several locations. The rails will not automatically form a perfect circle, so please do not skip this step. Once you have confirmed a true circle, stake the bottom rails at every other rail with a screwdriver.
Install Patio Blocks
For added support, you may want to install patio blocks under each bottom plate. Make sure to center each bottom plate or cuff on a 2” x 8” x 16” patio block. Sink the patio block into ground, making sure that each block is level in all directions. Repeat this step around the frame, making sure each block is level with the ground. All of the patio blocks must be flush with the ground. If adding sand, you may remove the bottom rails at this time (as long as your pool ring remains staked in position.
Use chalk or a marking tool to trace the bottom plate onto the block to make sure you place it in the exact same area when replacing the bottom rail.
Pre-assembly
Now is a good time to start pre-assembling of the uprights. It is easiest to line all uprights next to each other in a line. You may want to lean them against a fence or another sturdy object. On most pool models, the top of the uprights can be identified by either an extra hole in the middle, or by an extra hole on each side (depending on which pool you have) for the decorative caps. Place the metal top plate on the upright making sure the holes line up and the hooked part of the plate is facing the open end of the upright (the side that goes against the pool wall). Now put a #10 x ½” screw in the center hole only. Do not install screws in the two side holes until later. This will make things easier and more efficient later in the installation process.
Wall Installation
Installing the wall can be tricky and difficult to maneuver. Locate the area that you wish to put the skimmer and return so that you can start the wall behind the appropriate upright. We recommend using landscaping stakes to support the wall as you connect around the bottom track perimeter.
If the side wall is too long or short, make the bottom ring larger or smaller by sliding the rails in or out of the bottom plates. If the ground is not level, the wall may jump out of the bottom track. Correct this issue by rechecking the level.
Single row wall bars
- Rivets on walls
- Wall bolts attached using hand tools
- Fill every hole with a bolt
- Wall bars must not touch each other
- Cover bolt heads inside the pool with three layers of duct tape
Staggered wall bars
- Wall bars need to be attached
- Wall bolts attached using hand tools
- Fill every hole with a bolt
- Wall bars must not touch each other
- Cover bolt heads inside the pool with three layers of duct tape
Upright Installation
Install the uprights into each bottom plate or bottom cuff. Bottom plates require hardware for installation, while bottom cuffs do not require any hardware in order to secure the upright at the bottom. Please refer to your pool parts breakdown sheet to verify which type of pool you have.
After installing all of the uprights, check pool for roundness again, making sure the diameter is the same in all directions.
Prepare the Cove
For a sturdy and long-lasting cove, we recommend installing an above ground pool coving kit. This will take the guesswork out of using sand and create a perfectly smooth cove around the pool floor.
If using the sifted earth or fine sand, build a pool cove 6” to 8” high inside the metal wall along the entire circumference. This will prevent the liner from creeping under the wall, and it will also protect the liner from any metal edges of the pool framework.
After the cove and the base are in place, rake and tamp the entire pool area. Make sure that no sand is allowed to remain on the wall above the cove. This could cause pinholes in your liner. Wetting the sand with water will make tamping easier and pack the sand better.
Install the Vinyl Liner
This step will walk you through installing the pool liner. If you are using the stabilizers to help hold the wall up, then you will need to take them off while installing the liner. Do not place the liner wall seam directly over the skimmer or skimmer return cutouts.
We recommend removing your shoes for this part of the installation. Place the liner at the center of the pool with the flap from the seams facing down. (For print liners, leave the print side facing up.) Spread the liner so that the bottom seam of the circumference rests evenly around the pool. The seam should not be upon the wall or shifted to one side. These conditions will create tightness or stretching of the liner when the pool is being filled.
Overlap pool liner:
Starting at the liner wall seam, hang the overlap liner over the wall making sure that the seam is straight up and down. As you put the liner over the wall, you can secure it by using the plastic coping strips. If there is excess material, continue around the pool, pulling excess liner evenly, and distribute over the wall until the excess is gone.
Beaded Pool Liner:
Beaded, or Snap Bead, Liners are very easy to install and do not require the plastic coping strips for installation. Instead, you should have received a beaded liner track (aka bead receiver). Install the bead receiver all the way around the pool. The receivers should be as close together as possible to avoid future problems.
Now, snap the liner bead into the receiver at four random points around the pool. If you are satisfied with how the liner is situated within the pool, you can continue to snap the liner into place around the entire pool. Go around the pool again to verify that the liner is securly snapped into the track. You will want to confirm that liner will not pull out while under the pressure of being filled with water.
Unibead Liner:
Unibead also does not use the plastic coping strips for installation. The top of the wall of the liner has a “V-Bead” welded onto it. You can simply open the bead with your fingers and hang it directly to the top of the pool wall. No printed liner material is going over the top of the wall to the outside of the pool wall.
The liner should not have any creases from twisting around the pool. If the liner is twisting, it is because it is not seated properly in the pool. Make adjustments before proceeding to the next step.
Liner adjustment
Once the liner is secure, pull wrinkles in the floor towards the side wall evenly, leaving wrinkles at the coving. There must be no air between the liner and ground or side wall. To remove wrinkles at the cove, adjust the amount of material over the wall. Just remember to not pull too tight. The liner could pull inwards if it is hung too tightly.
Start filling the pool until it is about 1” deep. If water runs to one side, pull back the liner and make the ground level. Don’t cut the skimmer and return holes until fully adjusted and the pool is 1/3 filled.
Inner Stabilizer Adjustment
When the vinyl liner is completely adjusted and the coping is secured, push the first inner stabilizer rail over the plastic coping so that it fits snugly. Be sure to leave one end of the stabilizer slightly raised so that the next stabilizer can interlock.
Secure the Uprights
Now you can pull the front of the top plate over the stabilizer bar and add the final screws necessary to secure the uprights to the pool. Use a leveler to make sure the uprights are completely perpendicular to the ground. This will ensure maximum stability of your pool.
Attach the Top Rail
Your pool will either include metal top rails or resin top rails. Each type of top rail material includes different hardware.
We recommend having at least two people while installing the top rails. If a top rail falls into the pool, it may cut the liner. Place all the top rails before screwing them down completely.
Slowly fill pool with water
It’s recommended to fill the pool halfway then refer to the separate instructions on how to install the skimmer and return fittings. Once installed, you can finish connecting the rest of the pool equipment like the filter system and pump. After installing all the above ground equipment, you can fill the rest of the pool.
Enjoy!
Preparation is the key to building an above ground pool. If done correctly, you’ll be enjoying your above ground pool in no time. Time to start planning for a summer full of fun and relaxation!
Find the perfect above ground swimming pool for you and your family today! We have a large selection of pre-bundled kits and customizable options for every backyard. Get started today!
JUMP IN WITH US ON SOCIAL!