How to Replace a Pool Pump Motor
Your pool pump motor has died. What now? If repairing the motor isn't an option and buying a new pump isn't necessary, it's time for a replacement motor.
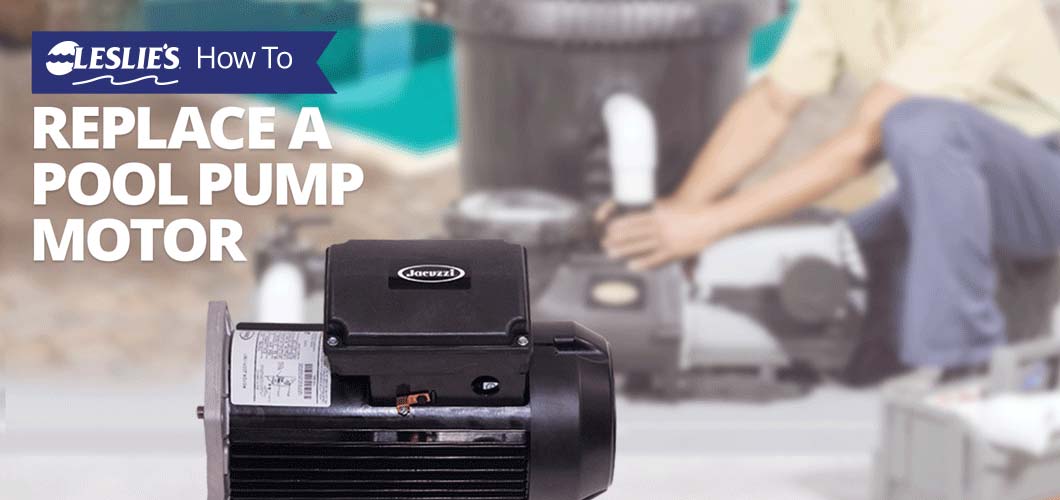
Pool pump motor replacement is a common practice among pool owners. The most common reasons that a motor would need to be replaced include failed bearings, corrosion inside and/or outside the motor, failed start and run capacitors, and motor age. The task of replacing a pool pump motor can be difficult, but we're here to make sure you get it done as quickly, easily, and successfully as possible.
Keys to keep in mind:

Replacing a pool pump motor
TOOLS/SUPPLIES NEEDED
- Gloves
- Safety Glasses
- Closed-Toed Shoes
- Replacement Motor
- Go-Kit specific to pump
- Pool and Spa Lube
- 9/16” Socket or Wrench & 7/16” Wrench
- Standard and Phillips Screwdrivers
- Strap Wrench or Impeller Puller
PROCESS FOR HOW TO
- Shut off power to the pump at the breaker to prevent unintended operation of equipment and for safety precautions. Remove the electrical whip from the rear of the motor. Using tape and a pen, mark the hot, neutral, and ground wires.
- Depending on the pump model, remove the clamp assembly or 9/16” bolts holding the seal plate to the pump housing. Carefully remove the motor and rear of the pump from the pump housing and place it on a table or workbench.
- Remove the diffuser.
- Use the 7/16” wrench or appropriate size wrench to hold the rear of the motor shaft and prevent motor shaft rotation.
- Using the strap wrench or impeller, puller remove the pump impeller. Note: If the impeller has a locking screw, remove the screw before attempting to remove the impeller. The locking screw will be reverse thread.
- Using the 9/16” socket or wrench, remove the pump seal plate.
- Remove the mechanical pump seal from the seal plate and impeller.
- Wipe down and clean the components being reused during assembly.
- Using the appropriate Go-Kit (per the pump model), replace the mechanical pump seal. Note: Take special care when installing the mechanical seal to NOT touch the white ceramic or black graphite surfaces with your hands or other contaminants.
- Remove the new motor from its packaging and place the seal plate on the motor in the appropriate orientation and complete installation with the 9/16” bolts.
- Use the 7/16” wrench to hold the rear of the motor shaft and prevent the shaft from rotating. Install the impeller on the now secured motor shaft until the impeller is hand tight. Note: Make sure to install the impeller locking screw if applicable.
- Install the diffuser in the appropriate orientation.
- Bring reassembled motor and rear of pump to pool area and slide the motor and rear of pump into the pump housing. Secure the seal plate to the pump housing using the clamp assembly or 9/16” bolts.
- Connect the electrical whip securely. Turn on the breaker to provide power to the motor.
- Turn on the pump to test for leaks and pump operation.
There you have it. You now have the know-how to replace a pool pump motor. If any of this sounds overwhelming, don’t worry; we’re here to help. Fill out a service request online to schedule one of our trained and professional service technicians to complete the task for you. For other questions, visit or contact your local Leslie's store.